https://onlineconferenceformusictherapy.com/2025/02/22/z7ied54us78
enter site
https://lpgventures.com/k8u70pup 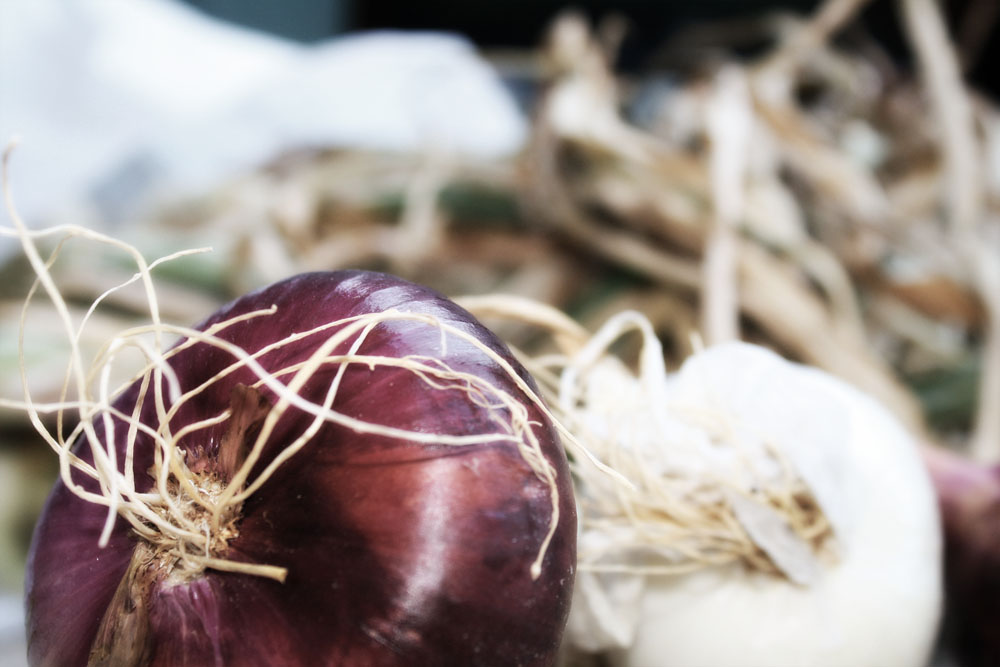
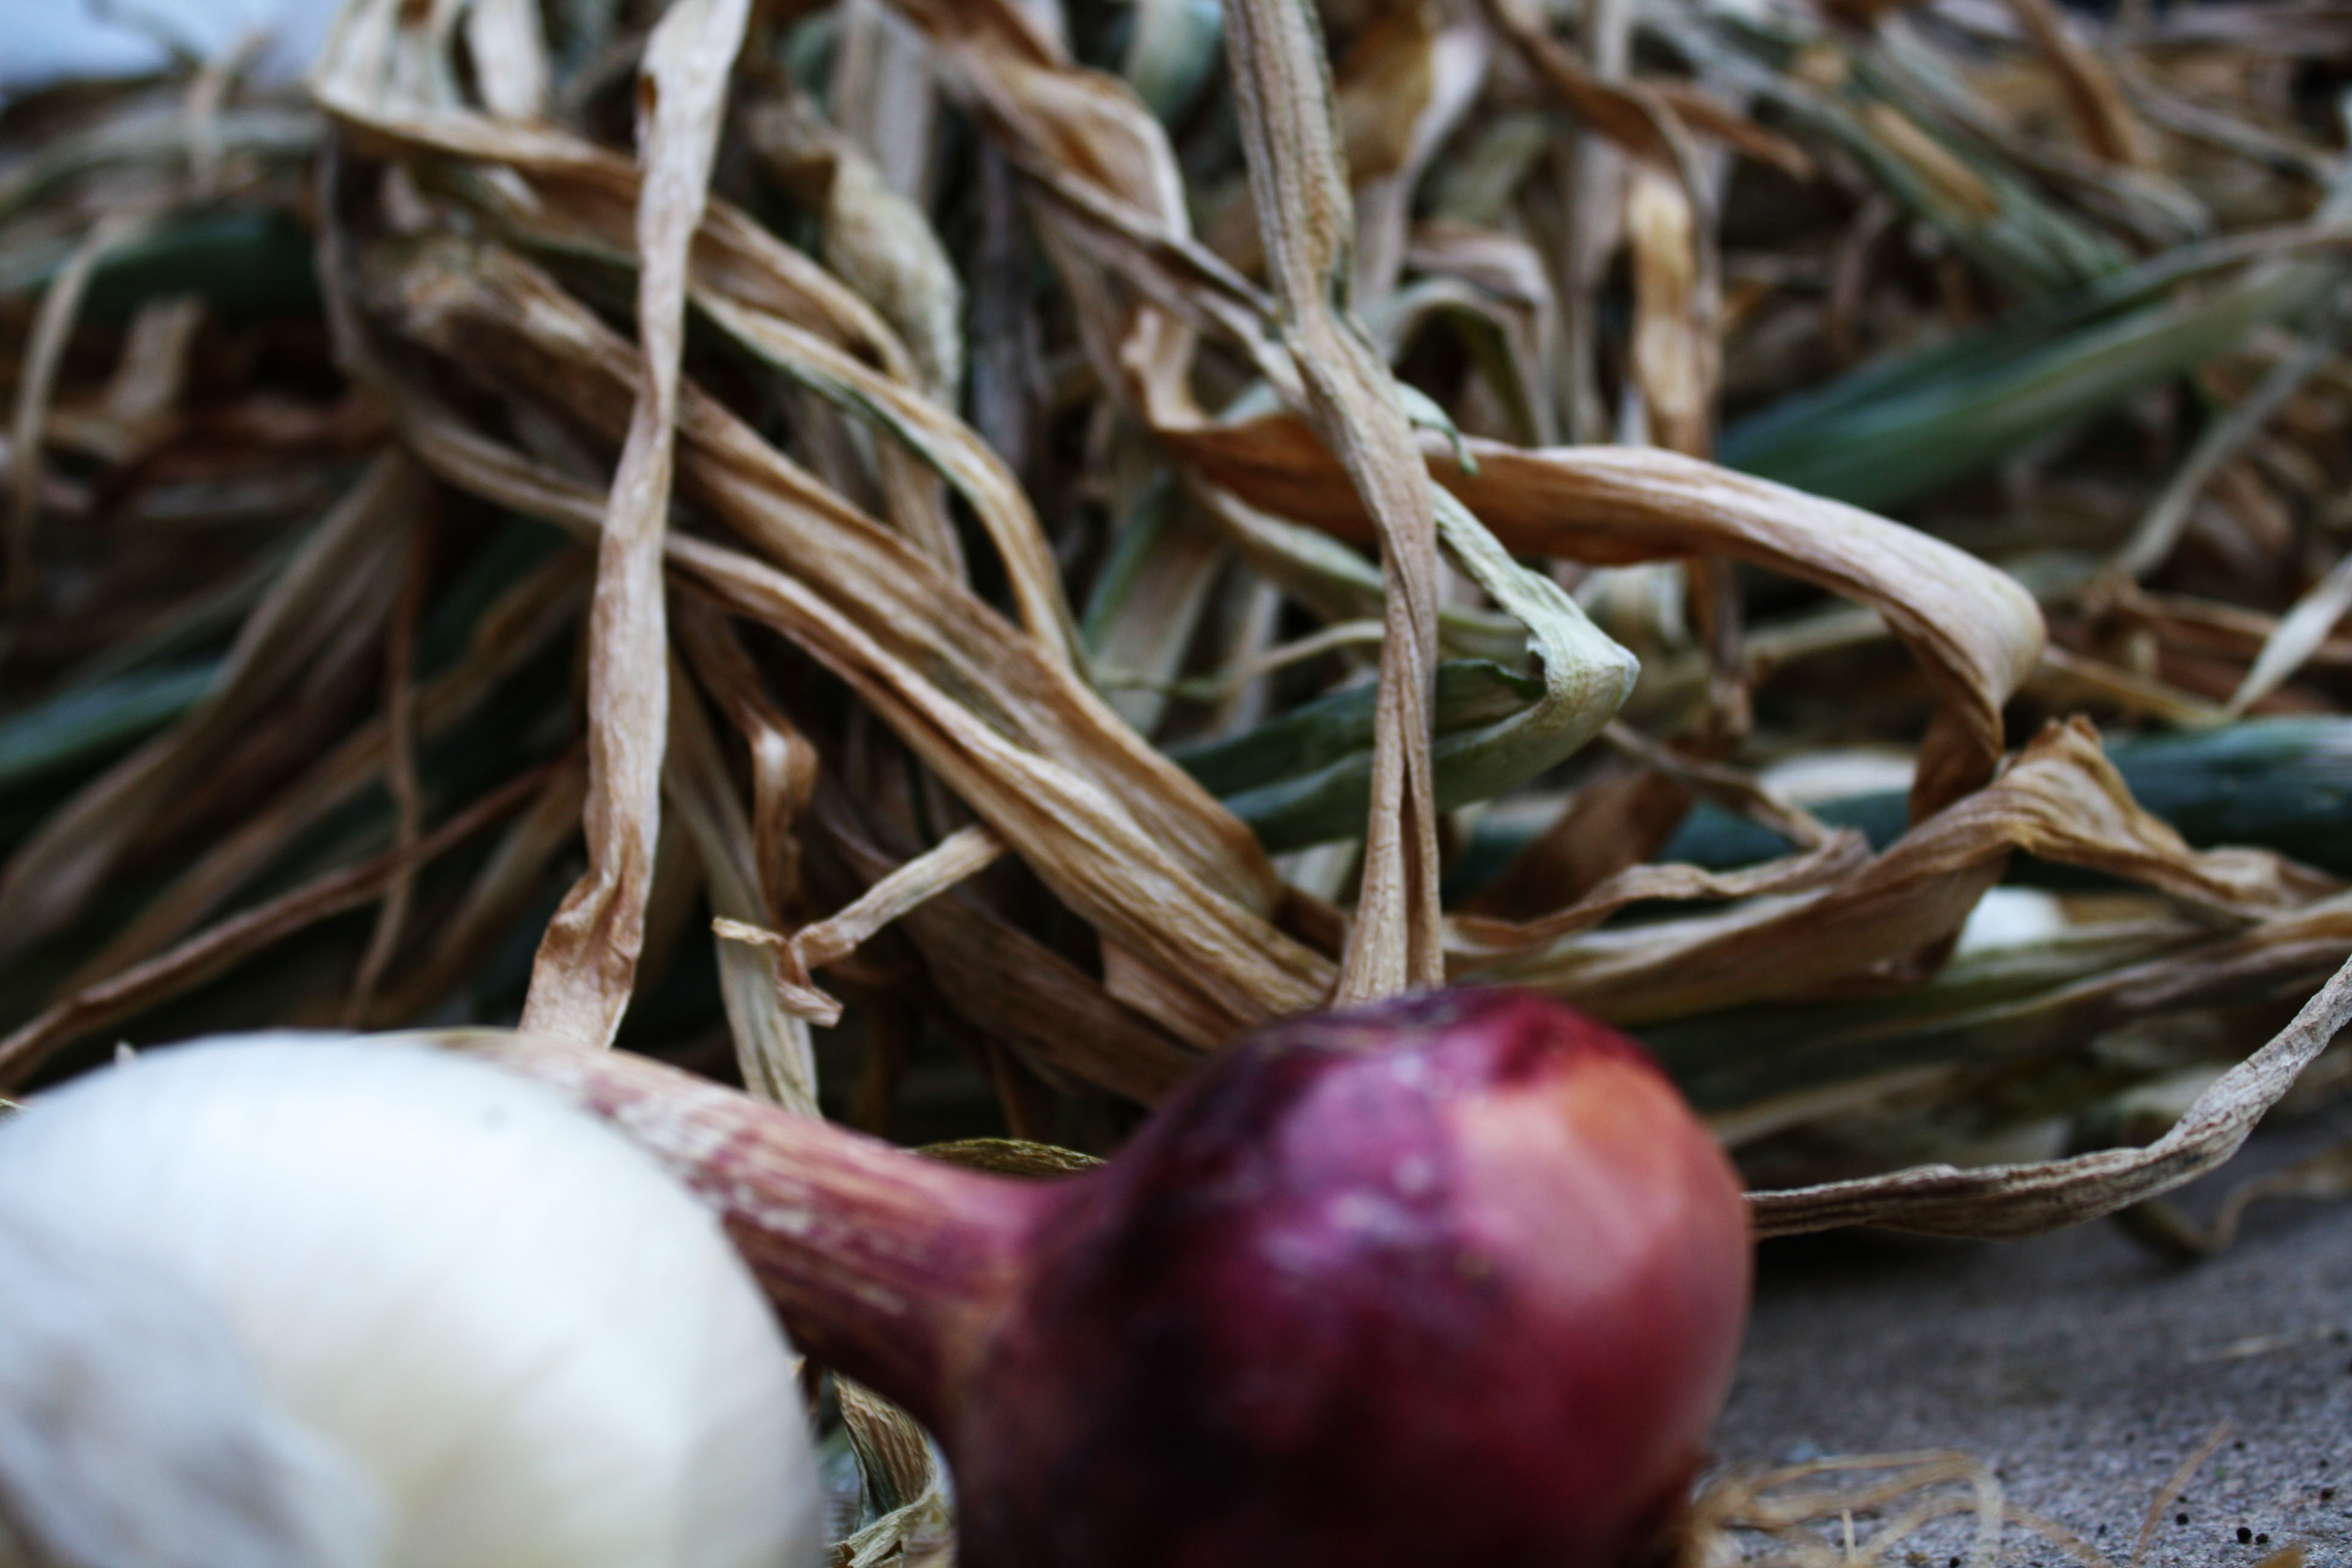
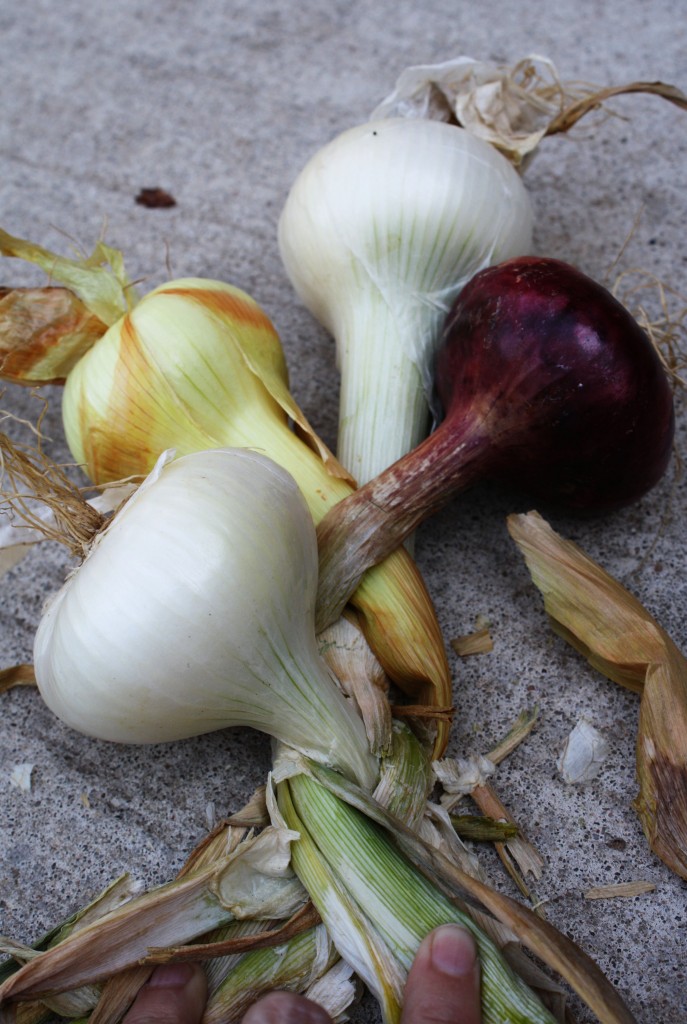
https://purestpotential.com/0l8wpbwoqv I was introduced to Laura Ingalls Wilder’s “Little House on the Prairie” books when I was eight years old. Soon after, I began doodling on wide-ruled paper when day-dreams would overtake me. In them, I was Laura and I was playing in the log cabin attic bedroom with my sister Mary. We would cuddle our tiny corncob dolls while playing house, sitting on pumpkins for chairs. Overhead, strands of dried onions would hang on every beam. The detail of my drawings was only limited by the time I had for that particular sitting. Since I was a farm girl and much of our lives revolved around storing food, preparing food, and growing food, I had found my literary heroine.
source urlhttps://dcinematools.com/bqkwvnmt Thirty-nine years later, I still romanticize the annual rhythm of doing what I can with my own hands and my own earth to provide food for my family. And one of these annual rituals includes harvesting onions twice a year, drying them, and braiding them into usable portions to either keep in the garage until those on my hook in the kitchen are gone, or give away to friends. The process is easy, but I was taught. So in case you are just now at the point where you’d like to learn as well, here is a post to guide you. Let’s begin, shall we?
go herehttps://alldayelectrician.com/tiss9l2 A note about growing onions to begin: I use bulbs and it takes about four months for them to be large and ready to harvest. If you are able, about half-way through their growing time, remove the dirt down the bulb at least one-third, to even one-half way. This allows the bulbs more “breathing room,” thus they can grow larger. When the stalks have fallen over, and the tops are about 30-50% dry, it’s time to pull your onions.
enter site https://mocicc.org/agricultura/c9z3ucoswgo site I pull mine in two rounds, because I just don’t have time to prepare all of them in one sitting. Grasp the onion as close to the bulb as you can, and make sure the earth is soft enough to pull without losing any of your tops. Wash your onions well, then leave them outdoors on newspapers, or on a mesh-type surface to air dry approximately three days. Don’t leave them in direct sunlight in high temperatures, or they actually might begin to cook depending upon the surface and situation. Once the tops are approximately 60-70% dry (some degree of green, the brown feels waxy, but not completely falling apart) it’s time to bring them indoors to store, or to braid them together in bunches.
https://lpgventures.com/xvq00p53x6i
https://mocicc.org/agricultura/tzm9vdb 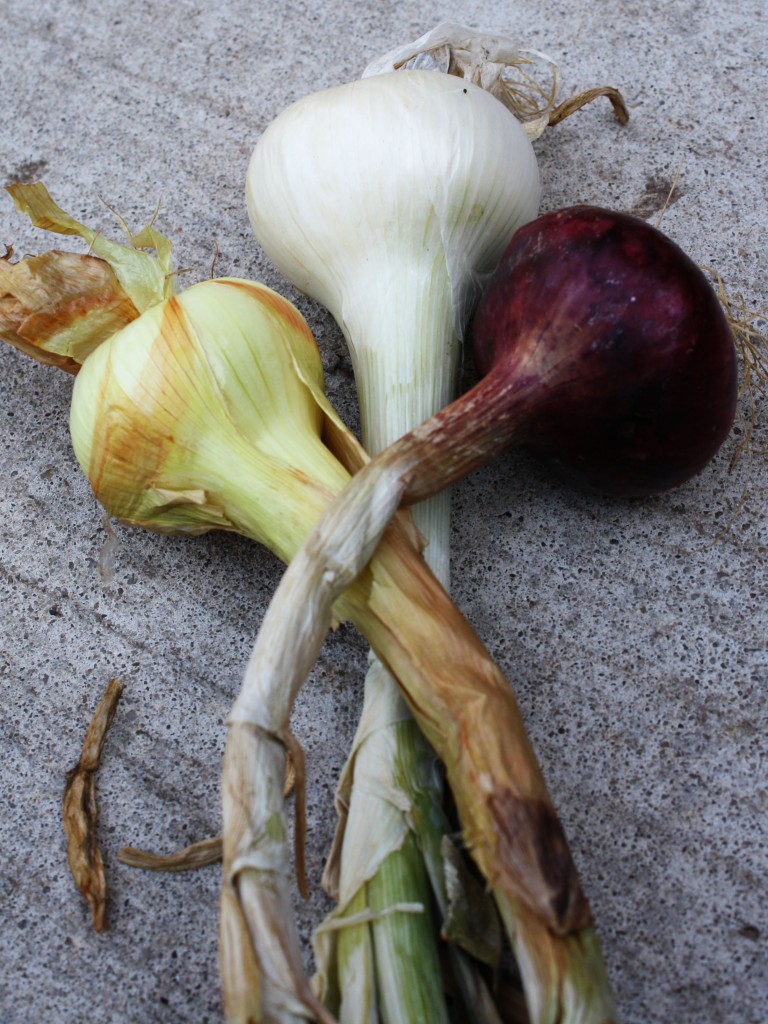
watch Begin with three onions. I like to use a variety of colors. Braid just as you would hair or a rope. Make one pass with each of the three tops-sections.
see url https://guelph-real-estate.ca/3ukknzg7h3zOrder Tramadol From Canada Next, add a fourth onion. You’ll need to watch the onion tops because they can become tangled. I “comb” mine out with my fingers between almost every additional onion. Continue this process until you have the base length you want.
see url
https://danivoiceovers.com/ze8ie6jpqhg 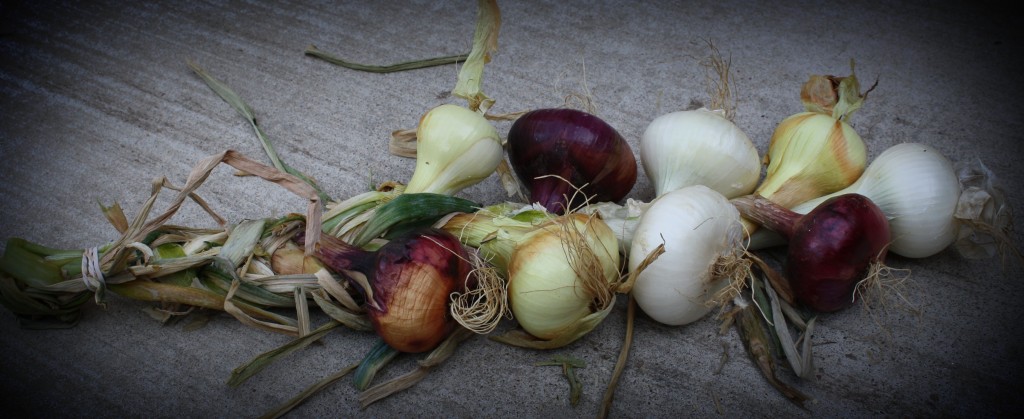
enter I loop over the tops and wrap either string (if I’m feeling earthy), or a rubber band (if I have too many in my drawer) and tightly finish off the braid. Then I gently pick up the finished work and place them in a cooler resting place until it’s time to use them.
https://onlineconferenceformusictherapy.com/2025/02/22/vi8djkkqli
https://www.mbtn.net/?p=oovbvxe82 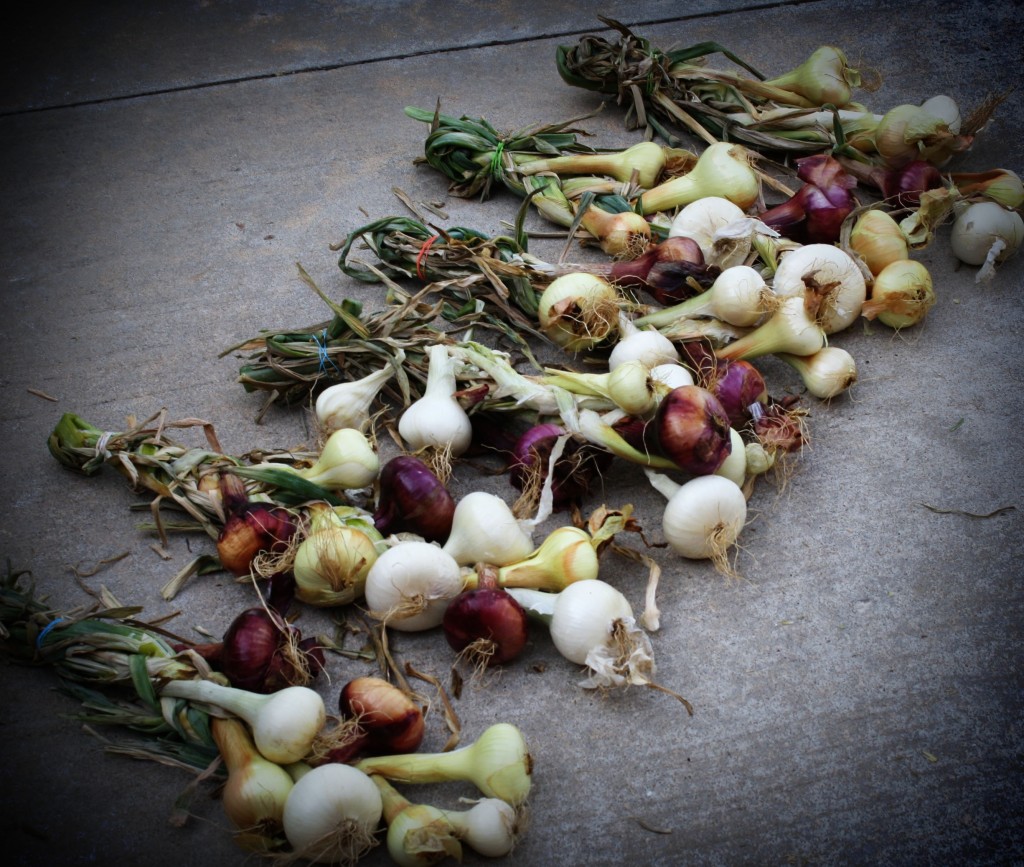
https://www.brigantesenglishwalks.com/eb82wxva0u While I don’t have an attic that’s conducive to storing my food treasures (I live in Oklahoma, Laura lived in the Minnesota woods), I do have a pantry. I usually put a paper bag or something on the floor to catch the drying, flaking onion tops. And, after a month or two, sometimes they become too dry and brittle to hang, so I just pull off the onions and compost my tops. However, for a few months after each harvest, I can walk into my pantry at night, look at my onions, and smile. Laura Ingalls Wilder rocked, and she was one of my favorite anthropologists. Thanks, Laura, for the detailed descriptions of your attic and your food preparation. It’s 2011, and you’re still my hero!
https://penielenv.com/xuplx5c2vjgo site [kelly]
https://www.brigantesenglishwalks.com/2ub8lc95Tramadol Online Next Day Delivery ***
source sitehttps://www.yolascafe.com/zoyd3af For all the “My Little Victory Garden” posts, click here.
http://www.mscnantes.org/jalajb6kComments
enter site
